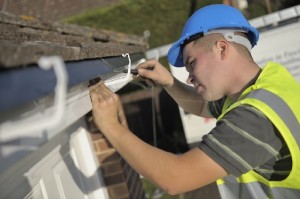
How to Install a Fascia Board
This entry was posted on Jul 26, 2013 by speedy-bedIf you want to know how to install a fascia board, you’ve come to the right place. There are a few basic rules to be bear in mind with fascia board installation from Speedy Plastics and Resins, and if you follow these instructions you will end up with a job that looks good, and lasts for years.
1. The depth of the fascia board used should be chosen so that the top edge of the fascia does not bear the weight of the tile if 10mm or less thick.
2. Nail the first length of fascia into position, starting exactly in line with the centreline of the corner rafter, then at no more than 600mm centres (reduce for coloured and wood grain fascia) into the ends of the rafters. Remember that when the fascia is in position, the rainwater gutter has to follow, so position your nails so as to be clear, of the subsequent screw fixings. In the next steps we will look at how to fit the upvc fascia boards.
3. Cut the fascia to ensure that its other end coincides with the centreline of a rafter. Ideally the end should be just short of the rafter’s centreline. Twice nail the fascia into the tail of every rafter, at no more than 600mm centres (reduce for coloured and wood grain fascia).
At the joint between each fascia board a joint is needed. Pre-drill and twice pin it into either the right or left hand fascia board (not both). In this procedure you should ensure that a minimum of 5mm spacing is left between board ends to allow for expansion
4. Start at the left hand corner (Without Bargeboards) – It couldn’t be much simpler: fix the fascia board along the front, with joints at rafter tails as necessary. The projecting eaves normally have a small box end, which is cut from a single piece of fascia board. If a separate fillet covering the tilting fillet is required, this additional triangle can be incorporated into the new box end.
With fascia and box end in place, fix end caps or corner trims to both ends with pins/nails; superglue and activator; or silicone in accordance with manufacturer’s instructions.
5. Start at the left hand corner (With Bargeboards) – Where bargeboards are involved, the procedure is slightly different, because the box ends have to be formed. Before cutting the corner trim, remember its high is not governed by the depth of eaves fascia - it’s the depth of the barge board that matters. A 225mm deep bargeboard, when cut vertically at its end, has to be deeper because you’re not cutting at right angles. If the pitch is 45 degrees, 225mm becomes 318mm and at, 22.5 degrees its 242mm. A tilting fillet can add another 50mm or so.


